
Shooting just before sunset I had my camera's white balance set to cloudy. My Canon 40D manual lists the Kelvin colour temperature value of cloudy to be 6000K. (Wikipedia has an entry on colour temperature here) I shot the first picture (on the right) wide open at f/4.0, 1/25th at ISO 800 as ambient light was getting scarce. My exposure was set to maintain good detail inside the room and so "People's Lunch" and the surrounding brick was visible.
When I reviewed the shot on my LCD the exposure was good but the kitchen light was too yellow. Easy fix. I was shooting with my white balance set to cloudy (6000K) and the kitchen light was likely tungsten (3200K) or white fluorescent (4000K) hence it appeared quite a bit warmer - yellow and orange. A quick flick of the fingers set the white balance to tungsten.
Below is the second shot with white balance set to tungsten.
 Neat. I was expecting the kitchen light to appear more natural, which it did, but I was surprised with the amazing blue. Don't get me wrong, I knew setting white balance to tungsten would turn all the daylight in the frame blue but I was surprised at the creative effect it produced. This is a simple example of how white balance can be used creatively. My preference is the natural looking brick with the warm, inviting light of the kitchen but the blue shot makes me envision some kind of mysterious moonlit scene. Of course white balance can always be changed later using software but I believe it is more important to get it right in the first place.
The white balance setting is used to make sure whites appear white under various types of lighting. Our eyes do that automatically but the camera needs a bit of help. In most cases it is best to set the white balance for the dominant light source and then small adjustments can be made using software if necessary.
If a mish-mash of lighting types is just too crazy then you can always shoot black and white.
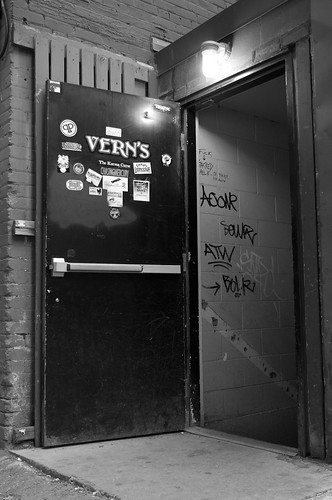
Kidding... well, not really. I fancied the shot above but it was some sick combination of daylight (5200K) and fluorescent (4000K) lighting. The two types are close in colour temperature but most fluorescent lights give off a sick greenish colour cast that even after some post production tinkering I could not the image looking completely right. Black and white just ended up looking better.
Sometimes you need a little help...
A great tool for setting a custom white balance is a grey/white card - 18% grey on one side, white on the other. Lastolite makes a product called EzyBalance which is just that. It has 18% grey on one side, white on the other and it folds down in to a small pouch so it is easy to take with you. I have one and it works great and is simple to use. Here is how you do it. Set the camera to manual and meter proper exposure on the grey side being sure that the light hitting your subject is hitting the grey card. Take a shot. Using the same exposure flip the card over and take a shot of the white side. The picture of the white side can be used to set a custom white balance in the camera (check your manual as this varies by manufacturer) and the shot of the grey card, which was also used to meter the light, can be used in post production to correct the white balance using software.
Easy peasy.
There is another good article on setting a proper white balance here.


No comments:
Post a Comment